Showing posts with label Master Bedroom. Show all posts

Tuesday, March 5, 2013

Master Bedroom: The big reveal!

I am so excited to share all of the progress that we made in our master bedroom in the month of February! When I original shared our before images the room was lacking any real personality and I didn't feel like it was a reflection of us.

A master should feel like a retreat and a place that brings you a bit of joy. Especially with a new baby I wanted a space to just breath and feel at peace when I went there at night... I think that for now I have achieved that even if I don't have the furniture of my dreams!

As a recap here is our before... 


and here is our after! 

Yes... after two years we finally have curtains up! These are IKEA curtains and I will be back tomorrow with a quick tutorial on how I made the plain tab top curtains work in our space.


We also finally hung some artwork and photos in our room...


We got a new rug from Ballard Design for Christmas and I FINALLY put it in our room...

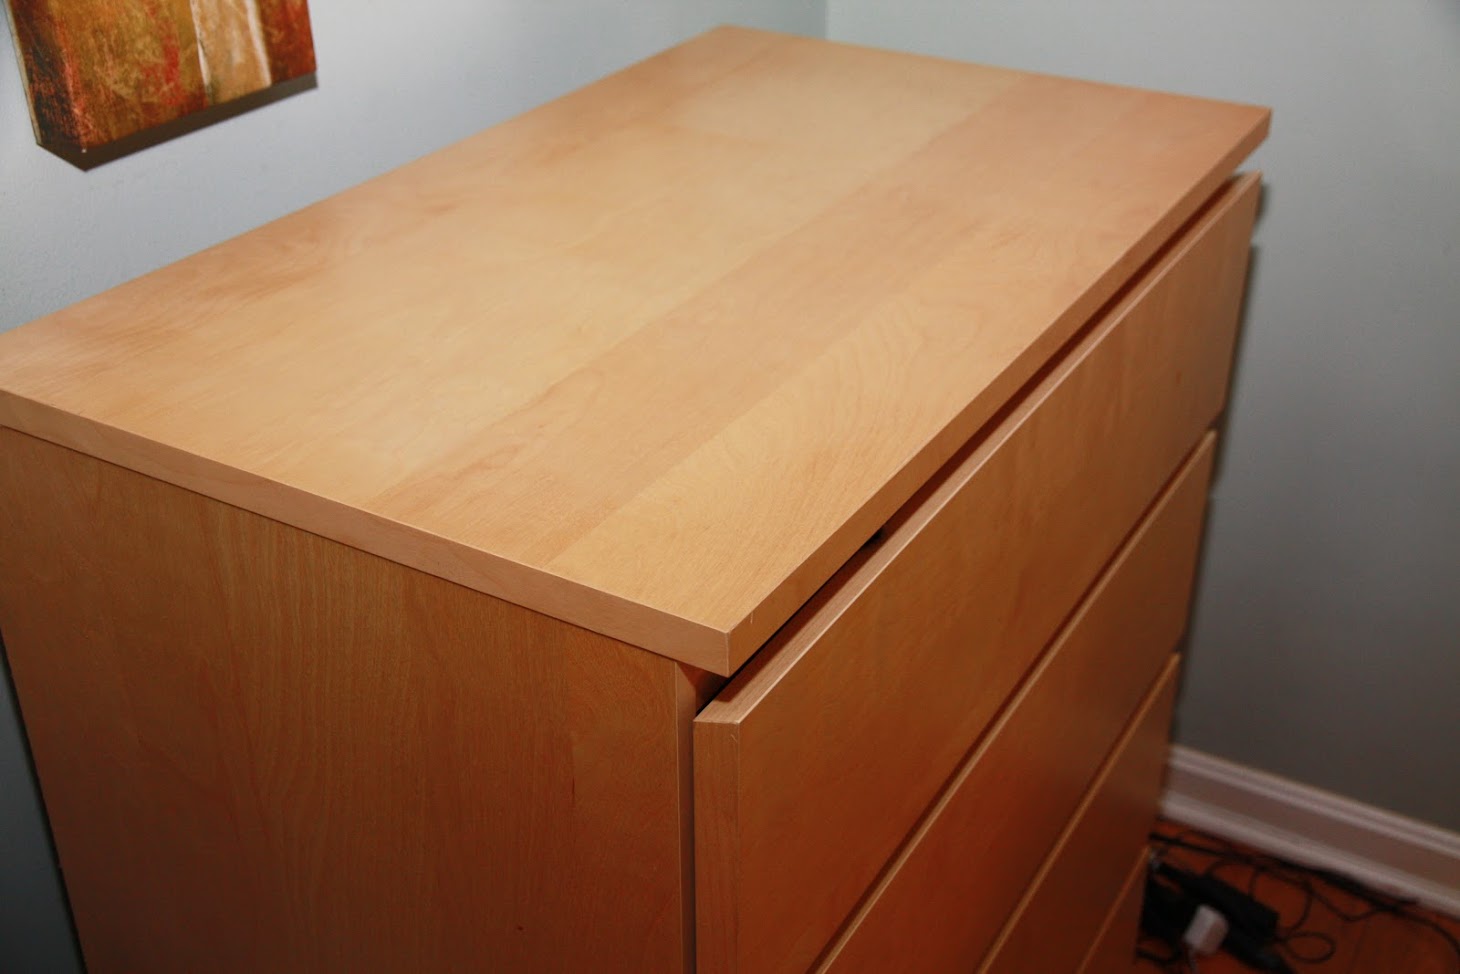
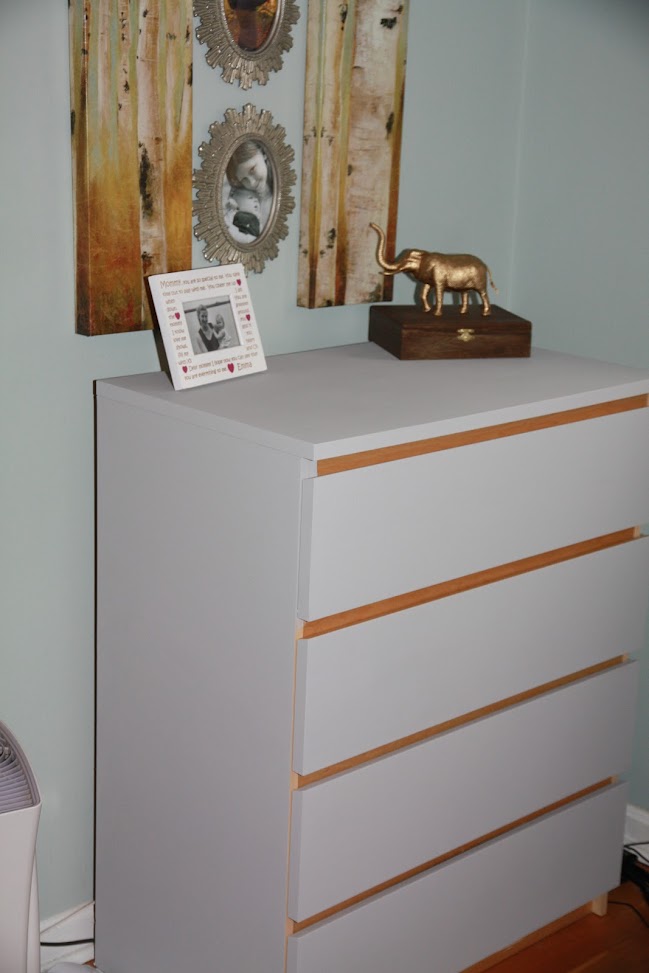
I used Annie Sloan Chalk Paint and painted our IKEA Malm, Laminate dresser. I still need to do Matt's dresser but that will be done soon. Also, still need to add some sweet glass knobs to the front to make it a more custom piece! Full post here.


Our bed also got the Chalk Paint treatment while Matt was out of town one weekend... You should have seen me trying to move the bed around on my own. It was hilarious.


With the help of my Dad I switched out our ceiling light fixture... Matt just loves coming home to my surprises..

Hubby closet was organized!

The pull out drawers behind our beds were organized...

The area behind our bed was cleaned up...

Matt's shoes found new homes...don't have a devoted photo of the behind the shoe storage but you can see it in the background of this photo...


Shoes that hubby wears frequently are placed in an organizer behind the door and shoes that he doesn't wear as often (cleats, tux shoes, etc.) are in a box in his closet. 


Again I'm extremely happy with the outcome! Here is a little before and after for comparison sake...


Monday, February 25, 2013

Master Bedroom: Ceiling Light

I'm back with another Master bedroom update...

My cute hubby was out of town skiing over the weekend so that meant that I was a busy mommy at home... and that I Might have taken on a few projects that Matt told me not to... He is happy with the results so it is a win win...

Here was our Master Bedroom at the start of the month...


To see  our progress in the room so far visit here, here, and here...

Over the weekend I decided to change out the light...  My dream light from Pottery Barn was this $149 Mercury Glass flush mount... but I was very worried about the amount of light that this would give.


So I hit up my local Home Depot and came home with the Hampton Bay Grace Semi-Flush Mount Fixture for $69.97...

I am fully aware that the above picture looks like a ram... but I saw the light in person and it won me over...  I liked the Rubbed Bronze Finish and the seeded glass.

Only problem is that I have NO idea how to switch out a light fixture and well I didn't want to wait for Matt to get home because he had previously vetoed replacing this fixture... 

So that is where this guy comes in... MY AWESOME DAD!


Byebye Ugly fixture... 

Safety First people... Turn off the electricity in the room that you are changing out your fixture in... and bring in another light source so you can see what you are doing. 

Remove the old fixture

Unscrew the flush mount from the ceiling

Carefully Uncap the wires and unscrew the ground wire that it attached to the center of the fixture mount.

This should be what you are left with

Next my dad removed the metal fixture holder as the crews did not line up properly with our new fixture and replaced with the one that came with the light... I think that in most cases you would just be able to leave the old one...

From this point you will need to follow the directions for your own light as all are different Screwed on the center metal piece that holds our new light. 
Cap the wires together again and screw in the ground wire... Red & Black are screwed together and  whites go together.

Attach Flush Mount to the ceiling

 Add light bulbs and glass cover

Now look at it and smile... or cringe because you can see the white light bulbs... Time to go back to Home Depot for some clear bulbs!
Thanks DAD!

Wednesday, February 20, 2013

Master Bedroom: Chalk Paint on an IKEA Laminate Dresser

As I shared yesterday we had a busy weekend in the Park household and part of that included an update to the UGLY plain IKEA Malm dresser that I have been trying to break for years...

Here is a reminder of what my dresser looked like...


Just didn't fit with the light feel that I would like in my master bedroom...  So I decided that this would be a perfect opportunity to break out some Annie Sloan Chalk Paint in Paris Gray that I've had forever. I've wanted to try this paint due to the fact that you do not have to prep or prime your surface. I figured that my laminate piece would be the perfect tester, for the chalk paint, because I've heard horror stories about people painting laminate and the paint just peeling off.. The heavy Chalk paint is suppose to stick on "any" surface and typically with only one coat... 


So I got to painting right after work on Friday and in between, play time, feedings, and making dinner I was able to paint a majority of the dresser... and yes... I was a slacker and didn't even move it out of the bedroom... Just put some paper down at the base to make sure that I didn't get any paint on the floor...  After one coat (which is really all I would have needed in this color because it is so thick) I started to realize something... The color was WAY too close to the wall color! Even Emma told me that I was painting the dresser the wrong color... and I had to agree...

I was hoping that in the daylight it would look better but no such luck... ehhh all that wasted time! I was feeling very deflated! 

Here is a close up so you can see the great coverage that the Paris Gray has...

So off to the store I went and I threw down another $38.00 for ANOTHER can of paint...  This time in Old White.

After TWO coats... Not sure if that was because it was had to cover the very thick gray or if it would typically take two coats.. this is the result. 

After 24 hours I applied LIGHTLY a Annie Sloan clear wax... They are not kidding around that a little goes a long way! 

So my thoughts on the Chalk paint were that it was SUPER easy to use on the laminate and I love the results! My only cons were that I had to redo the entire project but that was my own fault... The paint and wax are also pricy but again a little goes a long way... With the small can I can probably paint all of the furniture in my room and still have some left over... So in my mind that is $38.00 well spent.

So now I'm thinking about hardware... here are a few options that caught my eye at Home Depot.

$3.95 Each

$3.97 Each

$1.98 each

$3.99 each

What are your thoughts?  I'm also playing around with the idea of adding legs???

Linked up at:

Liz Marie Blog