Showing posts with label Thrifting. Show all posts

Thursday, June 12, 2014

Thrifted Thursday #1

It has been a WHILE since I shared a Thrifed transformation with you and I'm happy to say that I am back with one today.

Last week I visited my local Salvation Army and found this $2.99 frame that was in need of some love...


I knew right away that the openings would be PERFECT for instagram prints.

So after ordering some through Printstagram and giving the frame a coat of White spray paint and the matting received a coat of gray I was left with something wonderful!

The prints were just a little too small for the openings so I simply added some black card stock to the back of the mat and used tape to add the photos.
Here is the final result! I LOVE IT!

Not too bad for a $2.99 frame!

Wednesday, May 15, 2013

Unexpected seating changes!

Yesterday I walked into Salvation Army with Emma and Hunter and I instantly fell in love with 5 beautiful wood and Iron Bar stools!

A day later and I STILL couldn't get these bar stools out of my mind! I started looking on-line and I found this stool on ebay which look look exactly like my thrift store chair!!!  
But WTF.... $125 for ONE???? My thrift store chairs were $25.00 each...

I also found similar ones here and here

AHHH I couldn't get them out of my mind... I HAD TO HAVE THEM!!!!!! 

I was so worried that these beauties would be gone that I scooped them up while I was on a work errand in the same area! I didn't even want to risk that they might be gone before I got off from work!

Here I am fingers crossed that they were still available... 

And they were there... 


Bonus: Wednesday is Customer Appreciation day at our Salvation Army and all items are 25% off! This means that I purchased all FIVE chairs for only $98.39 that is under $20 each!!! SCORE


I cannot wait to get them home and put them at the bar! As a reminder... this is what we are currently working with:


Two different stools! The horror! Two are from IKEA and the others are great and solid (came with the house) but it has bothered me for over two years that they do not match! I'm going to try to sell them on CraigsList... If anyone is interested just let me know!

Monday, March 18, 2013

Just be thrifty Post: One handled basket

Hello All!!! So sorry for the absence on the blog... I had been doing so well with keeping up posts while I was in Colorado but life happened on Thursday and Hunter man got a bit sick while we were on our way home. I have been busy with him and trying to get back in the swing of things after being out of town for a week.

Many thanks again to my two guest bloggers Andrea who shared a DIY Personalized Spring Wreath and Molley who shared a beautiful Pretty in Pink Nursery

I'm a slacker and I do not have a new post for you today but I would like to share a quick project that I did for B-Thrifty! Please stop by their blog Just Be Thrifty and check out my quick update the the $2.99 basket below!


I'll be back tomorrow with a real post!

Saturday, February 9, 2013

Making the world POP!

I'm here to show you that a little spray paint make over can make something that is already an okay decor item and just make it POP!

Emma has wanted a globe for a while and when I found this one for only $5.00 I couldn't pass it up.

The plastic holder however was not doing it for me... It also isn't the look that I want to achieve in Emma's room.

Wait... don't I still have some yellow spray paint left over from her chair project???

After two coats of spray paint... The globe just pops in her room.

Now it actually contributes to the design scheme that I have! AND Emma finally has a globe!


Home Stories A2Z

Thursday, February 7, 2013

New Trash Can for Emma's Room

You might remember from my 
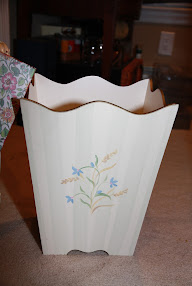
thrift store post that I purchased a great solid wood trashcan for only $3.00


This beauty has some great classic lines… the painting on the side however not my jam…


I can appreciate that some one took the time to hand paint it but it just wasn’t going to work for my house.

The first step was to sand the sides… Emma was super excited to sand and I was happy to have the helper!


After the sanding I applied a coat of BEHR Blackberry Farm paint. I had this paint left over from another project that I took on recently in Emma’s room.
**If you do not have a huge item to print I GREATLY recommend heading to your local home improvement store for the small tester containers. It is an easy and cheap way to get just the right color you were looking for.


After letting the paint dry I did a light sand and applied a second coat of paint. Next I let the trash can dry overnight.

The next day I pulled out my trusty 
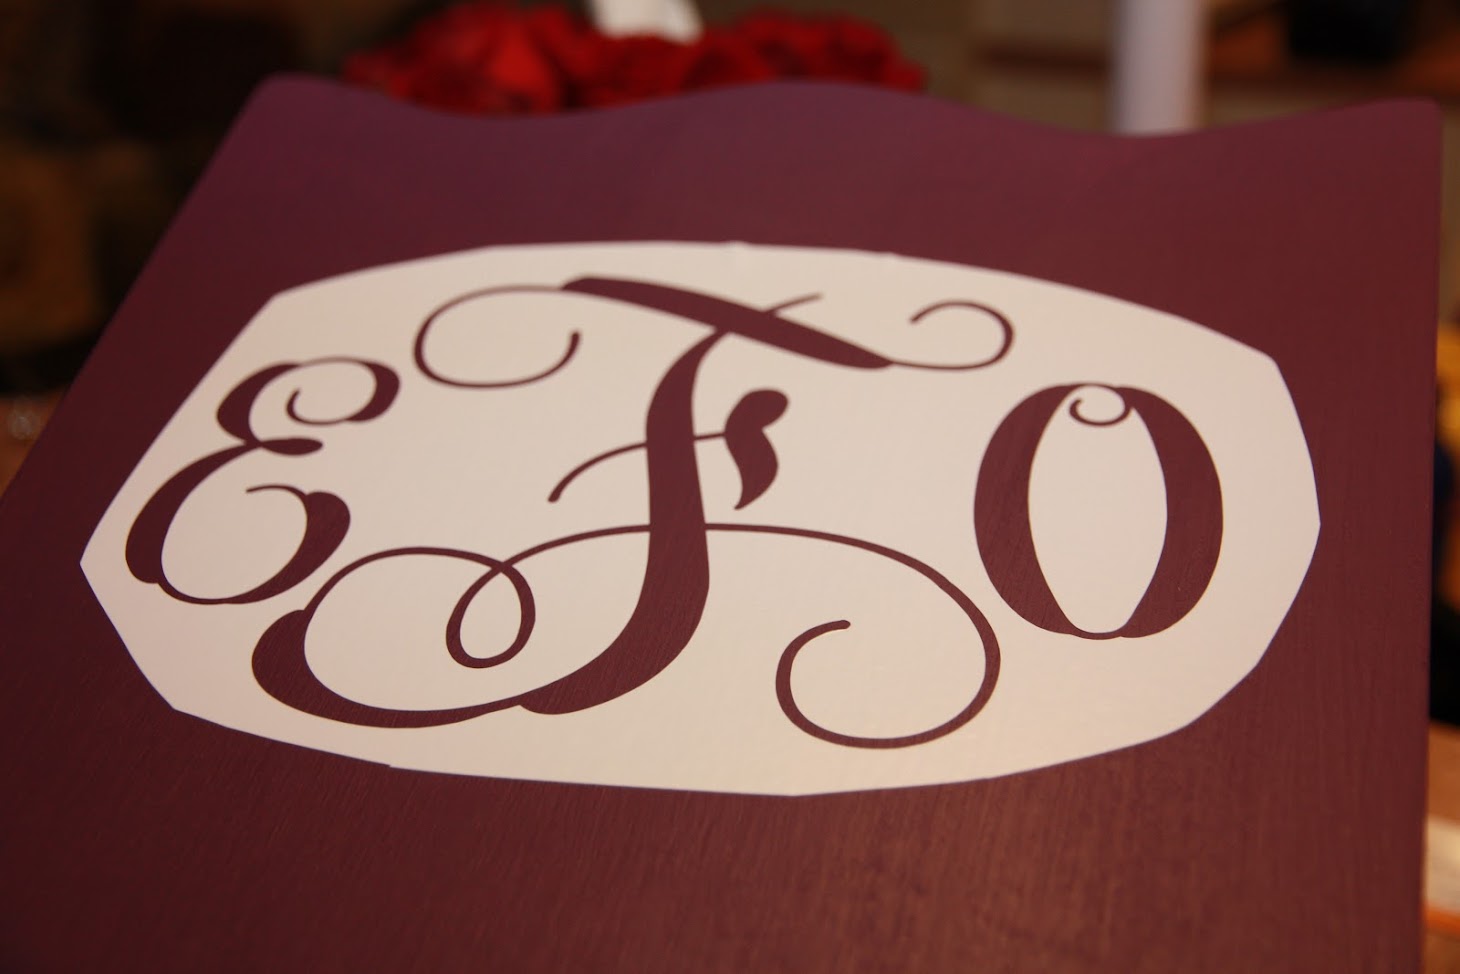
Silouette Camo machine to assist in making Emma’s monogram into a stencil. If you do not have a Silouette machine you can easily print a monogram on plain paper and cut out the letters.


Once the vinyl was cut I removed the letters.. leaving the backing


I really need to get the little tool that makes it easier to lift up  the decals.


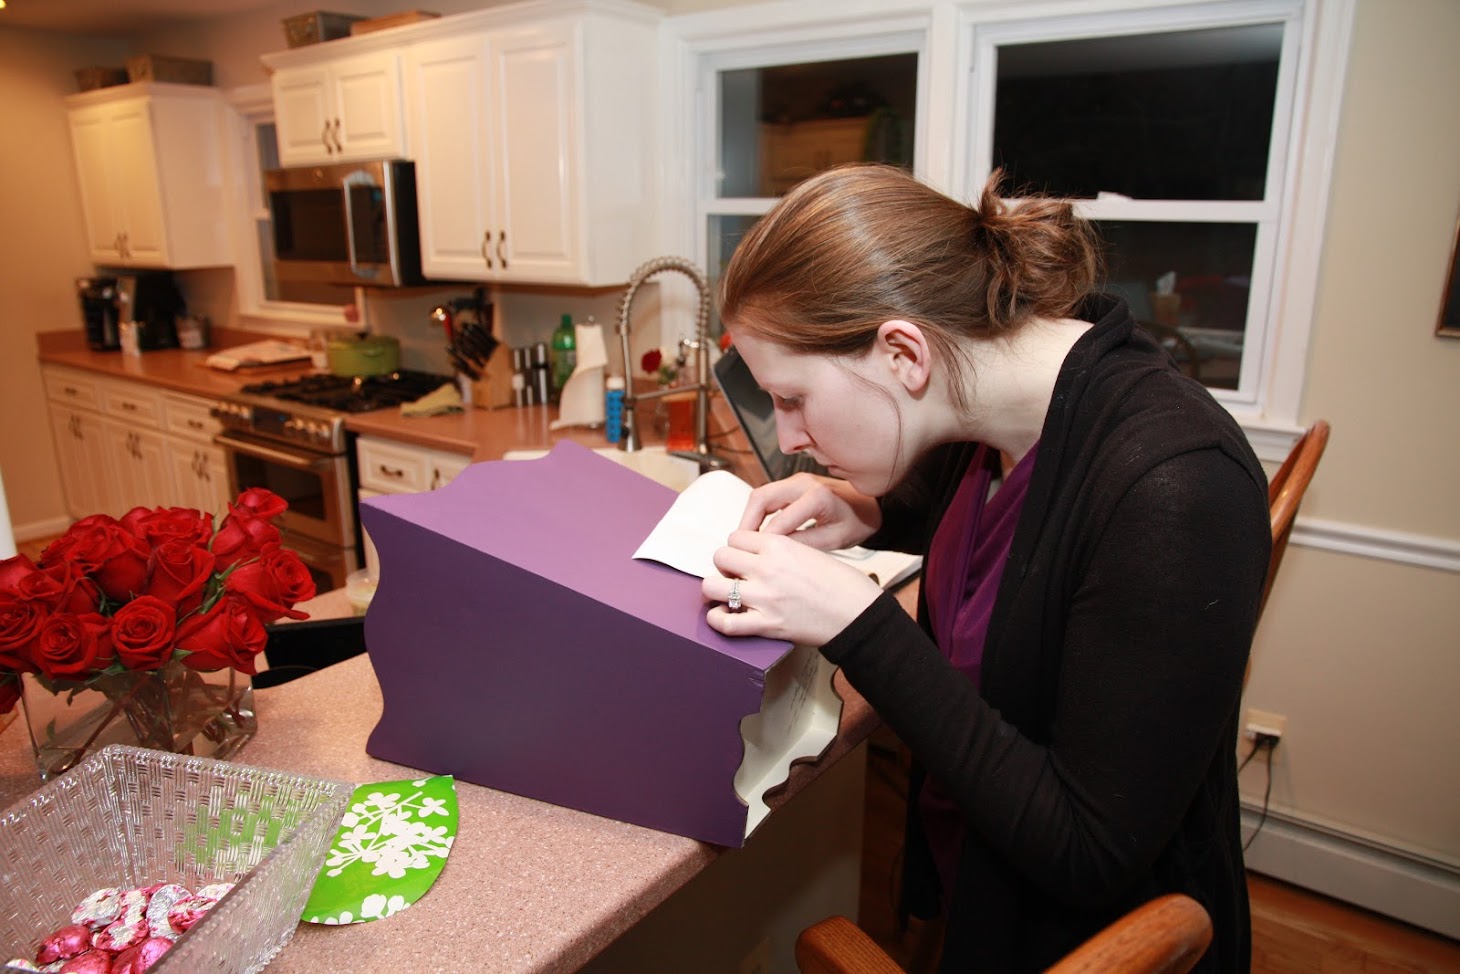
Applied transfer paper

Placed the stencil on the trashcan and applied pressure to make sure that it would stick after I pulled the transfer paper off…

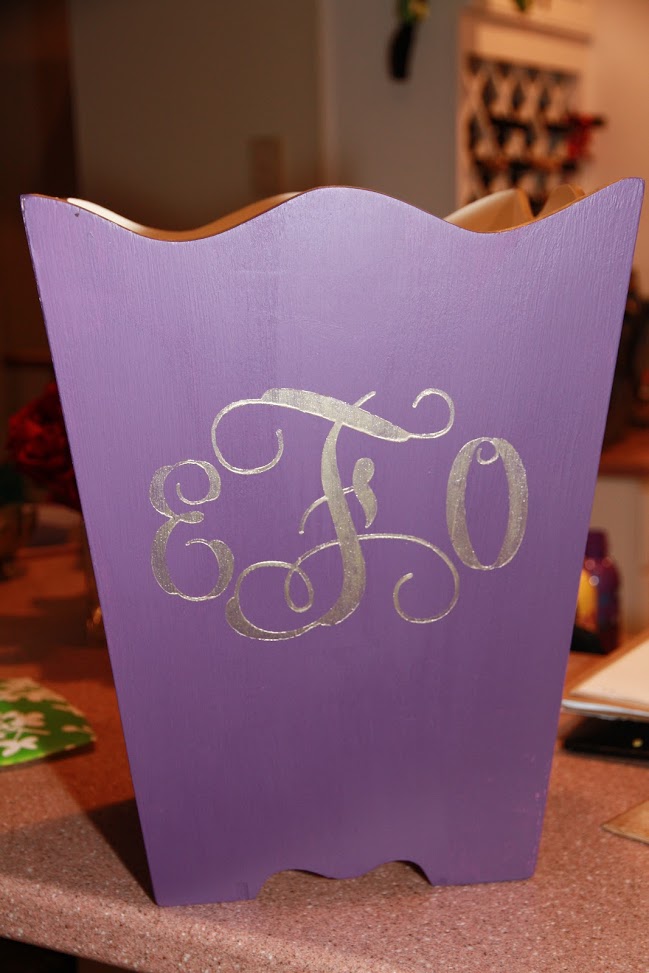
Next I whipped out some gold paint that I had on hand and applied the paint to the stencil.

Pulling the stencil off while the paint was still wet!

I am so happy with the results and Emma loves it too!

** Trash can was purchased from B-Thrifty in Woodbridge, Virginia 

Monday, February 4, 2013

Thrift Store: Gold Elephant Box

Yesterday, on the "unofficial" Macklrmore Thrift Shop Challenge  post I shared a little gray elephant that I scored for only 50 cents from B Thrifty in Woodbridge, Virginia (13412 Jefferson Davis Hwy  Woodbridge, VA 22191)


The second I saw the elephant I knew exactly what project I wanted to take on! My spray paint finger was twitching!

Saturday this beauty received a coat of gold spray paint

After just two coats of paint the elephant was looking GREAT!

On Sunday I pulled out this little box that I purchased about 3 months ago from Jo Anne Fabrics for only $5.00 


I removed the hardware


and I stained the box using MINWAX Water Based Wood Stain in Coffee. We had it leftover from a project in Hunter Man's room... This was actually my first time ever staining anything and I am extremely happy with the results...


Currently the elephant box lives in a bookcase in our living room (appropriately holding up some awesome Cheney books) but I think that after I organize our master bedroom the box will ultimately take up residence in there. I plan to use it for remote storage on the table behind my bed.


I cannot wait to get started on organizing and updating a few things in our master bedroom. The space is currently looking a little sad... When I tackle this room as a part of my February goals I hope to have as much success as I did in January with my Kitchen.

This post also shared on:
This That and Life